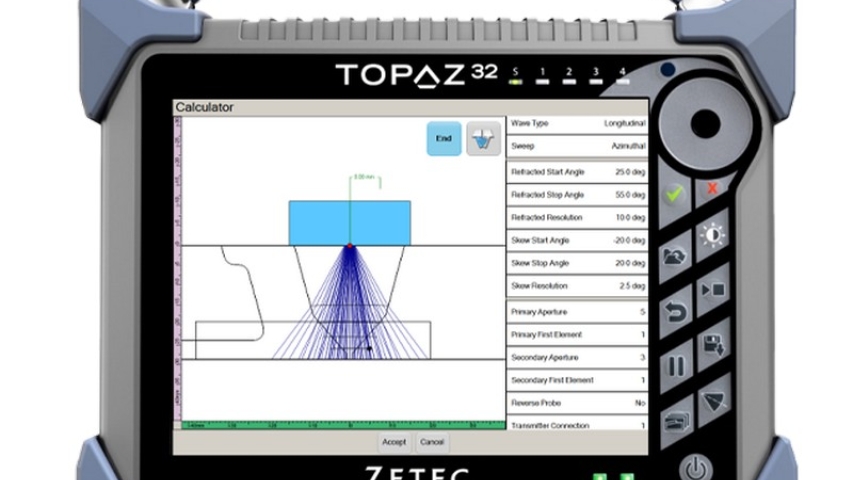
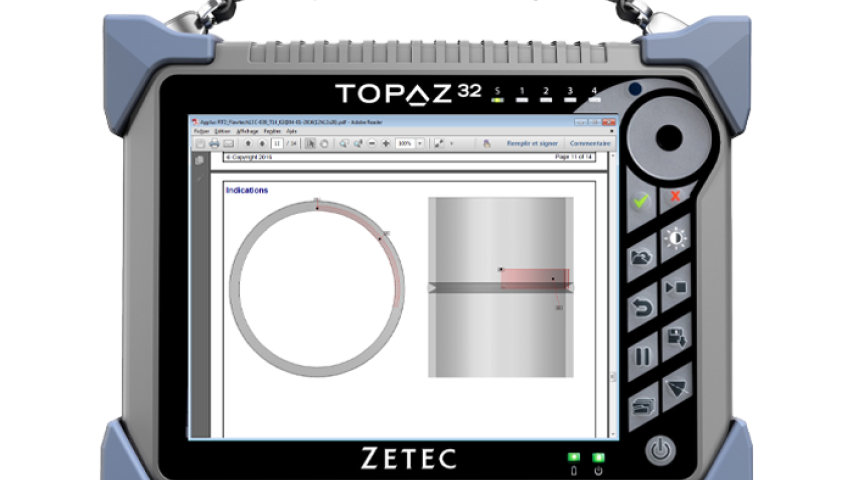
Ultrasonic Phased Array Flaw Detector TOPAZ32
The TOPAZ32 is a high-performance 32-channel phased array ultrasonic tester (PAUT) and a complete solution for your inspections. Optimally designed for inspection applications in the oil and gas, power generation, manufacturing and transportation industries, the TOPAZ32 helps increase productivity, reduce labor time and reduce the total cost of ownership of the equipment.
Avantages
- 2 conventional UT channels
- Possibility of multiple probes (2xPA + 2xTOFD)
- Unlimited groups
- Up to 1024 focal laws
- Maximum PRF of 12kHz
- Embedded 2D matrix support
- Time reversal option
Vidéo
Spécifications
Benefits of inspection
One of the multiple benefits of the TOPAZ32 is that support for 2D array probes is now included without the need for external software. This fully integrated and simplified approach can reduce the amount of equipment needed to complete an inspection.
With its rugged construction and sealed magnesium and rubber housing, the TOPAZ32 is durable enough to perform inspections in the harshest conditions. Its lightweight design makes the TOPAZ32 easily transportable wherever you go.
The TOPAZ32 portable 32-channel phased array is available in three versions:
- 32/128P - multigroup
- 32/128PR - multigroup with DMA (dual matrix array) support
- 32/128PR-TR- multi-group, DMA support with time reversal.
Powered by UltraVision software
The TOPAZ32 integrates this powerful software. Using a single software platform for all Zetec UT products saves valuable training time and achieves new levels of synergy between systems. Benefit from powerful features, including
Integrated advanced focal law calculator with visual feedback
Built-in volumetric measurement and fusion tools
Interactive instrument help
Remote control capabilities.
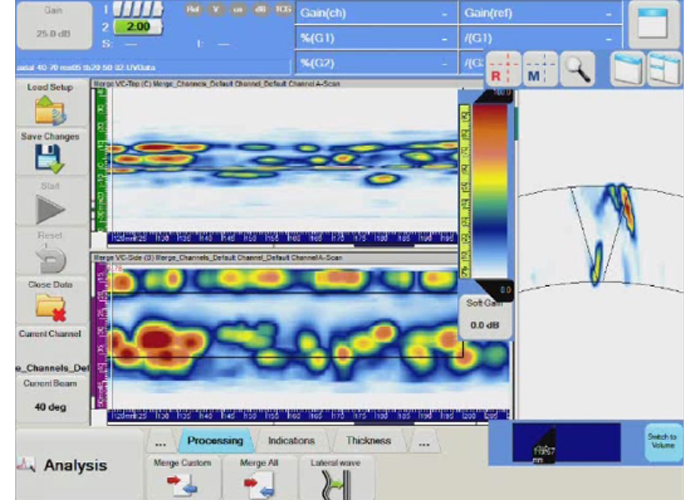
Maximize your productivity
TOPAZ32 allows users to efficiently perform the following operations from the device:
Prepare the sample and weld for inspection and calibrate the setup. Visual feedback from the built-in shape editor and advanced focal law calculator make it easy to create and optimize the layout.
Acquire real-time data in a range of views on the touch screen. The calibration process is made easier with a comprehensive calibration tool.
Analyze data in different views and automatically produce a table of indications. A comprehensive set of basic (sliders, readouts) and advanced (merge, C-Scan stitching, channel selectors, volumetric contours, thickness thresholds, etc.) analysis tools.
Reports at different levels to meet specific requirements. Custom, print-ready PDF reports, including hardware settings, scan plan and indication information, are generated with a single click.
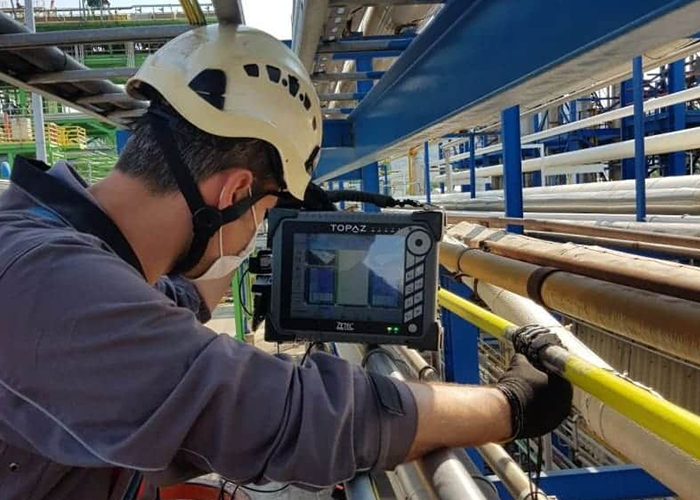
Simplified work process
The advanced processing functions and on-board calibration of the TOPAZ32 allow layouts to be optimized to account for phased array sensitivity, calibration delay, time corrected gain (TCG) and speed for each angle.
Calibration status keeps users informed before acquisition begins, and the TOPAZ32 displays calibration status for all channels (groups). If the corresponding symbol on the screen is not green, the parameter concerned has not been calibrated. Only when all symbols are indicated in green can scanning and data acquisition begin.
TOPAZ32 displays data in real time, even merged volumetric views during acquisition. With a wide range of built-in predefined layouts for presenting data, users can create their own layout to meet specific requirements or personal preferences.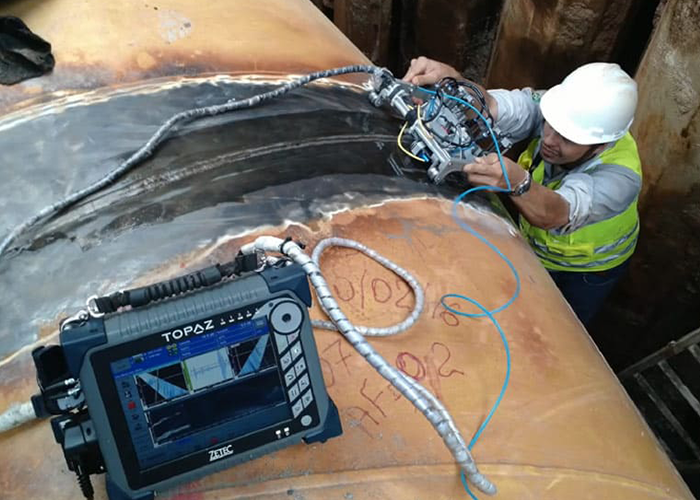
Increased efficiency
Support for 2D array probes without requiring external software.
Fast data acquisition with 2 GB data file capacity, reducing processing and reporting time by up to 50% compared to previous versions.
Fast, high-capacity storage (built-in 120 GB SSD) minimizes data export frequency
Sector and line scanning combine to increase the inspection area covered while reducing scanning time.
Powerful on-board analysis
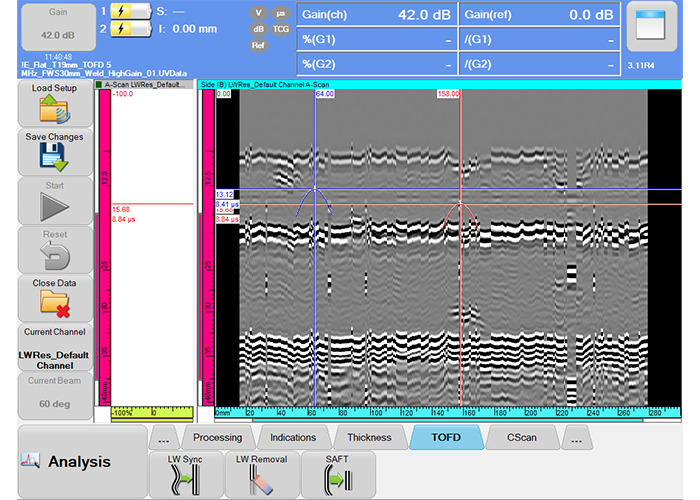
TOFD (Time-of-Flight-Diffraction) cursors enable on-board analysis.
Lateral wave synchronization straightens the lateral TOFD wave so as to measure the depth of the indication with the highest precision.
The onboard display manager provides data in several easily understandable formats and users can create their own views based on their needs or preferences.
All standard or user-created views can be shared with other inspectors; they can be exported using the full connectivity capabilities and views created for other inspections can be easily imported.
Intuitive onboard reporting
- TOPAZ32 can generate reports to meet all user requirements.
- Reports can cover scan plans, specimen and weld information, operating parameters, indication tables, individual images with identified defects and detailed reports.
- Predefined templates are available to produce reports depending on the level of information required.
INSTRUMENT
Taille (H × L × P)
132 × 260 × 326 mm
Écran tactile multipoints
264 mm
Admission d’air
Aucune
Fonctionnement sur batterie
Oui (changement de batterie sans interruption de fonctionnement)
Disque dur intégré
120 GB SSD
Instrument Calibration
Conforme à la norme ISO 18563-1
ENVIRONNEMENT
IP rating
Designed for IP66
Operating temperature
0 °C à 45 °C
Storage temperature range
-40 °C à 70 °C
Relative humidity
80% non-condensing
CONNECTIVITY
Multi-element connector
ZPAC (ZIF personnalisé avec verrou)
Video output
DVI
Data interfaces
Ethernet 1000 Base-T, 1 x USB 3.0, 3 x USB 2.0
MULTIPLE
Multi-element channels
32/128 P ou 32/128 PR
UT channels
2 P/E ou 2 P&C
Amplitude resolution
16 bits
Doors for measuring
4 doors +1 synchronisation door
Maximum PRF
12 kHz
Maximum pulse voltage (open circuit)
105 V multi-element UT / 215 V UT
Maximum applied voltage (50Ω)
75V multi-element UT / 200 V UT
Bandwidth (-3 dB)
De 0,5 MHz à 18 MHz
Rectification
Digital
Filtering
Analogue/digital (RIF)
Smoothing (Video filter)
Digital
Auto control
Yes
Automated probe detection
Oui
Number of focal laws (DDF)
1024
Maximum number of samples
8 192 - 16 384 (remotely using UltraVision3)
Maximum data file size
2 GB on board the TOPAZ32- 20 GB (remotely using UltraVision3)
Encoder interfaces
2 standard quadrature


